Key Takeaways
-
Wear aligners 20-22 hours daily for optimal results; consistency directly impacts treatment speed and teeth tracking accuracy throughout active treatment.
-
Active treatment typically lasts 6-18 months depending on complexity, with teeth moving through custom trays switched every 1-2 weeks and check-ups every 6-8 weeks.
-
The 3D digital scan in Stage 2 lets you preview your final smile virtually before treatment starts, making results more predictable and keeping you motivated.
-
Refinement trays are often needed after initial treatment to fine-tune tooth positions; this is normal and included in most Invisalign packages.
-
Retainers must be worn indefinitely after treatment (typically nightly) to prevent teeth from naturally drifting back to their original positions.
-
Invisible attachments—small tooth-colored dots bonded to specific teeth—help aligners grip teeth more effectively and enable more precise tooth movement.
Thinking about straightening your teeth with Invisalign? You’re not alone. Thousands of adults and teens in Brandon, FL are choosing clear aligners over traditional metal braces. But one question comes up again and again: what actually happens during Invisalign treatment? Understanding the stages of Invisalign helps you feel confident, prepared, and excited about your smile journey. Whether you’re just curious or ready to get started, this guide walks you through every step in plain, simple language.
The good news? The process is straightforward, comfortable, and designed around your life. No metal wires. No bulky brackets. Just a series of clear, custom-made trays that gently shift your teeth into place. Let’s break it all down.
What Is Invisalign and How Does It Work?
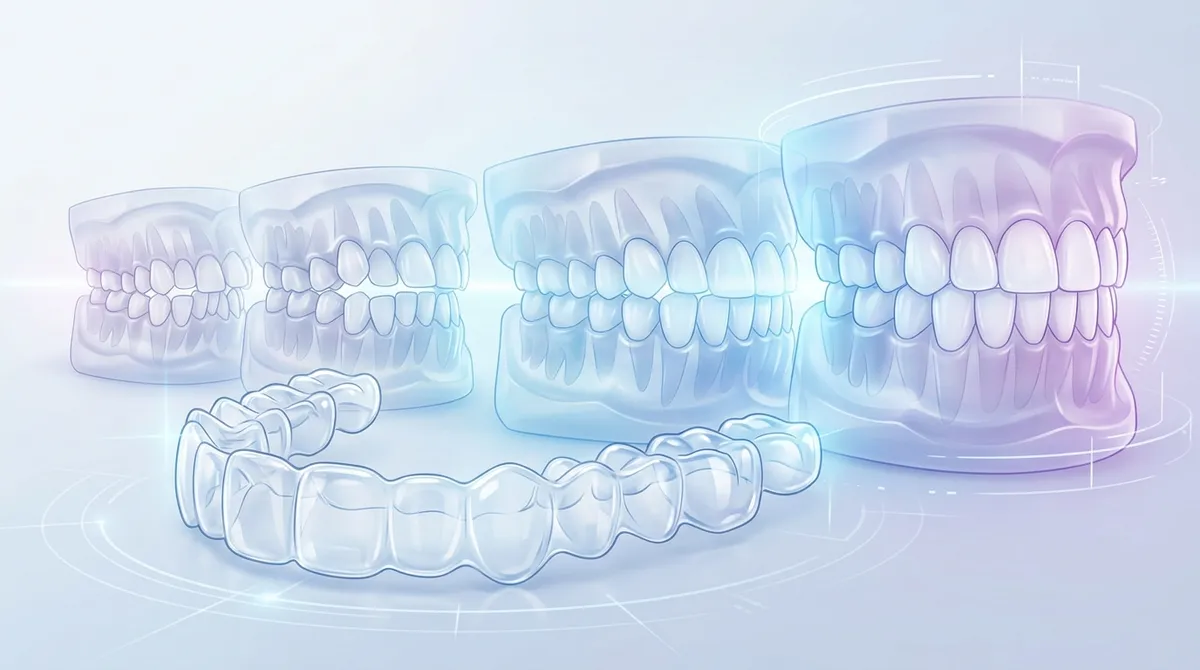
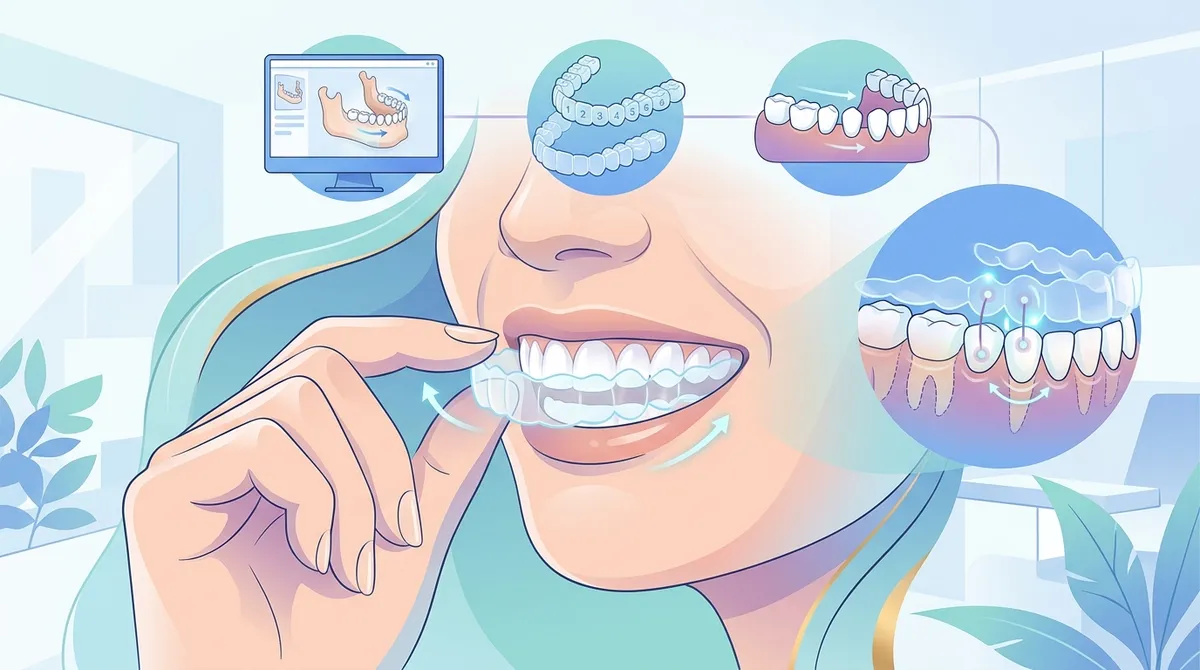
Invisalign is a clear aligner system that straightens teeth without traditional braces. Instead of metal brackets, you wear a series of clear plastic trays. Each tray is slightly different. Each one moves your teeth a little bit closer to their final position. You wear each set of aligners for about one to two weeks before switching to the next set.
The aligners are removable, which means you can take them out to eat, drink, brush, and floss. You’ll wear them for about 20 to 22 hours per day for the best results. To learn more about how the system works in depth, check out this overview of how Invisalign works to straighten teeth without braces.
Overview: The Main Stages of Invisalign
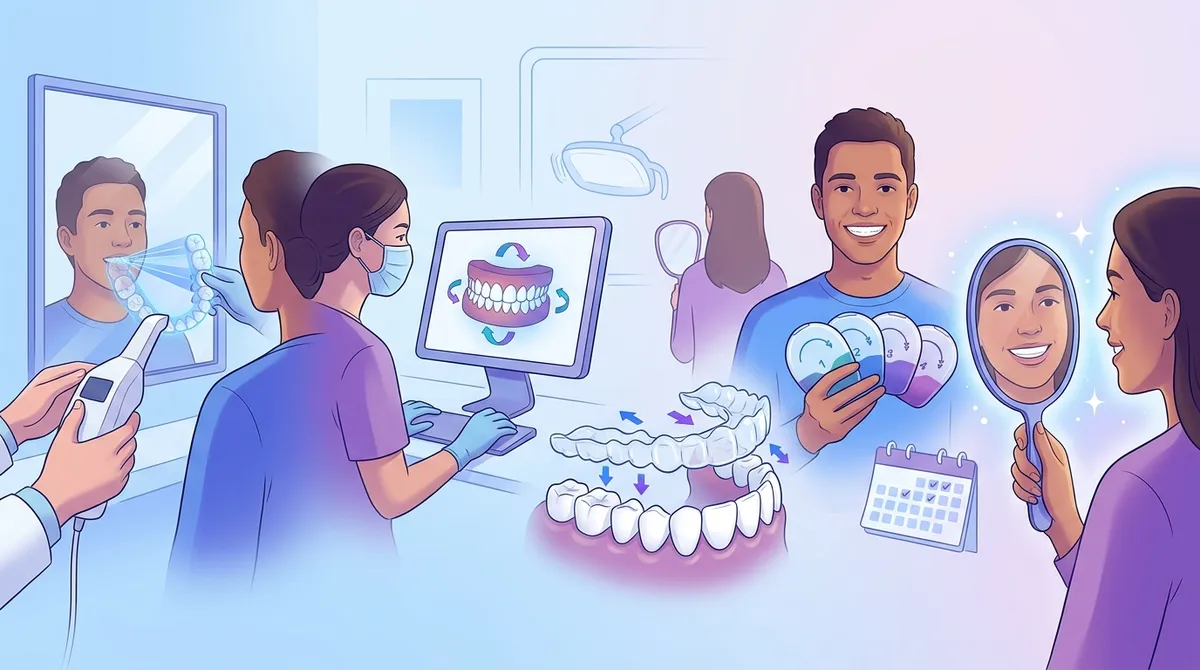
Every Invisalign journey follows a similar path, though the timeline varies from person to person. Here’s a quick look at the major stages before we dive into each one:
| Stage | What Happens | Typical Timeframe |
|---|---|---|
| 1. Consultation | Dentist evaluates your teeth and discusses your goals | 1 appointment |
| 2. Digital Scan & Treatment Plan | 3D scan taken, custom plan created | 1 appointment |
| 3. Aligner Fabrication | Your custom trays are made in a lab | 2–4 weeks |
| 4. Active Treatment | You wear each set of aligners, switching every 1–2 weeks | 6–18 months |
| 5. Refinements | Additional trays made to fine-tune results | Varies |
| 6. Retention | Retainers worn to keep teeth in their new position | Ongoing |
Stage 1: The Initial Consultation
Your Invisalign journey begins with a consultation. This is where your dentist takes a close look at your teeth, your bite, and your overall oral health. They’ll ask about your goals. Are you trying to fix crowding? Close gaps? Correct an overbite? This first visit helps determine if Invisalign is the right fit for you.
Not everyone is a candidate for Invisalign. Severe bite issues may require other treatment. But for many mild to moderate alignment concerns, Invisalign works beautifully. At Dental Theory in Brandon, FL, Dr. K specializes in Invisalign and offers personalized consultations to help you find the best path forward. You can even check out Dr. K’s Gold+ Invisalign Provider Profile to see his level of experience and expertise.
Here’s what typically happens at your first visit:
- Your dentist reviews your dental and medical history
- A visual exam of your teeth and bite is completed
- X-rays or digital images may be taken
- Your dentist discusses treatment options and expected results
- You get an estimate of treatment time and cost
Stage 2: Digital Scan and Custom Treatment Plan
Once you decide to move forward, your dentist takes a 3D digital scan of your mouth. This replaces the old messy impression trays. The scan creates a precise digital model of your teeth. It’s quick, comfortable, and very accurate.
Using this scan, your dentist (with the help of Invisalign’s software) maps out a complete treatment plan. You can actually see a virtual preview of how your teeth will move and what your smile will look like at the end. This step is exciting! Many patients describe it as one of the most motivating parts of the process. 3D imaging plays a huge role in Invisalign treatment planning and makes your results more predictable than ever before.
Stage 3: Aligner Fabrication
After your treatment plan is approved, Invisalign’s lab gets to work making your custom aligners. Each tray is made from a smooth, BPA-free plastic material. They’re shaped precisely to your teeth and designed to apply gentle, targeted pressure. This stage typically takes two to four weeks.
You might also receive Invisalign attachments during this stage. These are small, tooth-colored dots bonded to certain teeth. They help the aligners grip your teeth and move them more effectively. Want to know more about how they work? Read about what Invisalign attachments are and how they work.
Stage 4: Active Treatment — Wearing Your Aligners
This is the heart of your Invisalign journey. You’ll wear your aligners day and night, removing them only to eat, drink (anything other than water), brush, and floss. You switch to a new set of trays every one to two weeks, depending on your treatment plan.
During active treatment, you’ll visit your dentist every six to eight weeks. These check-in appointments are quick. Your dentist makes sure your teeth are tracking correctly and that everything is going as planned. Skipping appointments can slow down your progress, so keep those check-ins!
Here’s what to expect during active treatment:
- Mild pressure or soreness when switching to a new tray (totally normal!)
- A slight lisp for the first few days that goes away quickly
- Increased saliva production at first
- Gradual, visible changes in your smile over time
- The freedom to eat whatever you want (just take out the aligners first!)
Many patients wonder if Invisalign is painful. The honest answer is that it’s more of a pressure sensation than pain. Most people adjust within a few days of each new tray.
How Long Does Each Stage of Invisalign Take?
| Treatment Complexity | Estimated Duration | Number of Aligners |
|---|---|---|
| Mild (minor crowding or gaps) | 6–9 months | 10–20 trays |
| Moderate (some bite correction needed) | 12–15 months | 20–30 trays |
| Complex (significant movement needed) | 18–24 months | 30+ trays |
These are estimates. Your actual timeline depends on your teeth, your compliance with wearing your aligners, and how well your teeth respond to treatment. The more consistently you wear your aligners, the faster and better your results will be. There’s even a helpful guide on what the 30-minute rule for Invisalign means and how it helps you get the most from your treatment.
Stage 5: Refinements
Once you’ve worn all your aligners, your dentist will evaluate your results. In many cases, a refinement phase is needed. This means a new set of aligners is made to fine-tune the final position of certain teeth. It’s completely normal and part of getting the best possible outcome.
Refinements are included in many Invisalign treatment packages. Your dentist will take new scans and adjust the treatment plan as needed. Think of it as the finishing touches on your new smile. Most refinement phases are shorter than the original treatment.
It’s also worth knowing that certain conditions can affect your Invisalign eligibility or results. Learn about 7 conditions that may disqualify you from Invisalign before you get started, so you have a clear picture.
Stage 6: Retention — Keeping Your New Smile
This is the final stage — and one of the most important. Once your active treatment and any refinements are done, you’ll move into the retention phase. You’ll wear retainers to hold your teeth in their new positions. Without retainers, teeth naturally tend to drift back toward their old positions.
Most dentists recommend wearing retainers every night indefinitely. It sounds like a lot, but it becomes second nature quickly. A big question many patients ask is whether you really need to wear a retainer forever after Invisalign. The short answer is yes — but it gets easier over time.
There are two main types of retainers after Invisalign:
- Removable retainers: Similar to your aligners, worn at night
- Fixed retainers: A thin wire bonded behind your front teeth
Your dentist will recommend the best option based on your specific case. Some patients use a combination of both.
Common Invisalign Dos and Don’ts
| Do This | Avoid This |
|---|---|
| Wear aligners 20–22 hours per day | Eating or drinking with aligners in |
| Brush and floss after every meal | Skipping check-up appointments |
| Rinse aligners with lukewarm water | Using hot water (warps the plastic) |
| Store aligners in their case when not in use | Leaving aligners exposed to air or pets |
| Switch trays on time as directed | Skipping trays or wearing them out of order |
Learning what not to do is just as important as following the right steps. There’s a helpful resource on what not to do while wearing Invisalign that covers the most common pitfalls patients run into.
Tips for Getting the Best Results from Every Stage
Success with Invisalign comes down to consistency and good habits. Here are the top tips that help patients get through every stage with great results:
- Wear your aligners as directed. Every hour counts. Missing hours every day adds up fast.
- Keep your teeth clean. Brush after meals before putting your aligners back in. This prevents bacteria buildup and staining.
- Don’t lose your aligners. Always store them in their case when eating. Pets and napkins are the #1 enemies of Invisalign trays!
- Stay consistent with check-ups. Your dentist monitors your progress and catches issues early.
- Be patient. Teeth move slowly. Trust the process and know that small changes add up to big results.
If you’re in the Brandon, FL area and curious about starting your Invisalign journey, you can schedule an appointment with Dental Theory today. It’s a quick and easy process to get started.
You might also find it helpful to explore the top benefits of choosing Invisalign over braces if you’re still weighing your options. And if you want to explore the complete treatment in even more detail, our guide to the 7 final stages of Invisalign treatment is a fantastic resource to bookmark.
Why Choose Dental Theory for Your Invisalign Treatment
Not all Invisalign providers are the same. Experience level matters. Dr. K at Dental Theory is a Gold+ Invisalign provider, which means he has completed a high volume of Invisalign cases and brings real expertise to every treatment. He combines advanced cosmetic dentistry skills with a warm, patient-first approach that makes the whole experience enjoyable.
Dental Theory is a family-focused practice right here in Brandon, FL. Whether you’re exploring Invisalign for yourself or looking for general dental care for the whole family, you’ll find a welcoming team that truly cares. You can visit Dental Theory on Google to read real patient reviews and see why so many Brandon families trust us with their smiles. Dr. Chris Karapasha has even been recognized nationally — Dr. Chris Karapasha was named one of America’s Top Young Dentists in Incisal Edge magazine’s 40 Under 40.
If you’re ready to take the first step toward a straighter, more confident smile, we’d love to help. Reach out to Dental Theory today to schedule your Invisalign consultation. Your best smile is closer than you think!
FAQs
Q: How long does the Invisalign process take from start to finish?
A: The total timeline depends on the complexity of your case. Mild corrections can take as little as 6 months, while more involved cases may take 18 to 24 months. Your dentist will give you a personalized estimate at your consultation — and the results are absolutely worth the wait!
Q: Does it hurt when you switch to a new Invisalign tray?
A: Most patients feel some pressure or mild soreness for the first day or two after switching to a new tray — but it’s not painful for most people. Think of it as a sign that your aligners are doing their job! The discomfort usually fades quickly as your teeth adjust.
Q: Can I eat normally during Invisalign treatment?
A: Yes! One of the biggest perks of Invisalign is that you can eat whatever you like. You simply remove your aligners before meals and put them back in when you’re done. Just be sure to brush your teeth before reinserting your trays to keep everything clean and fresh.
Q: What happens if I skip wearing my aligners for a day?
A: Missing a day here and there can slow down your progress and affect how well your teeth track with each tray. Consistency is key with Invisalign — aim for 20 to 22 hours per day. If you’ve missed time, talk to your dentist at your next check-up so they can adjust your plan if needed.
Q: Do I really need to wear a retainer after finishing Invisalign?
A: Absolutely, and this step is super important! Teeth naturally want to shift back to their original positions after treatment. Wearing your retainer as directed — usually every night — keeps your beautiful new smile exactly where you want it. It’s a small commitment for a lifetime of great results!
Our Service Area